
Rep Additions — Rep Listed Elsewhere
Rep Additions — Rep Listed Elsewhere (RA00xx)
Mandatory stop rule when a rep appears on another FSP’s representative register
Why this scenario is high-risk
During rep additions, you must run an FSCA representative check using the rep’s ID number. If the rep is already listed under another FSP, the request becomes high-risk and must be paused immediately.
What you must achieve
- Capture the internal field correctly: Rep added elsewhere = Yes
- Pause the rep addition and request client authorisation
- Create a Zoho Desk ticket with correct fields and status
- Send the client the correct “awaiting feedback” email template
- Resolve correctly based on client response (don’t proceed vs proceed)
Step-by-step (Follow in this exact order)
Open each step. This is the official “pause + ticket + client feedback” workflow.
Step 1 — Run the FSCA check (mandatory rep register search)›
As part of the rep addition process, you must run an FSCA check using the representative’s ID number to confirm whether the rep is already registered elsewhere.
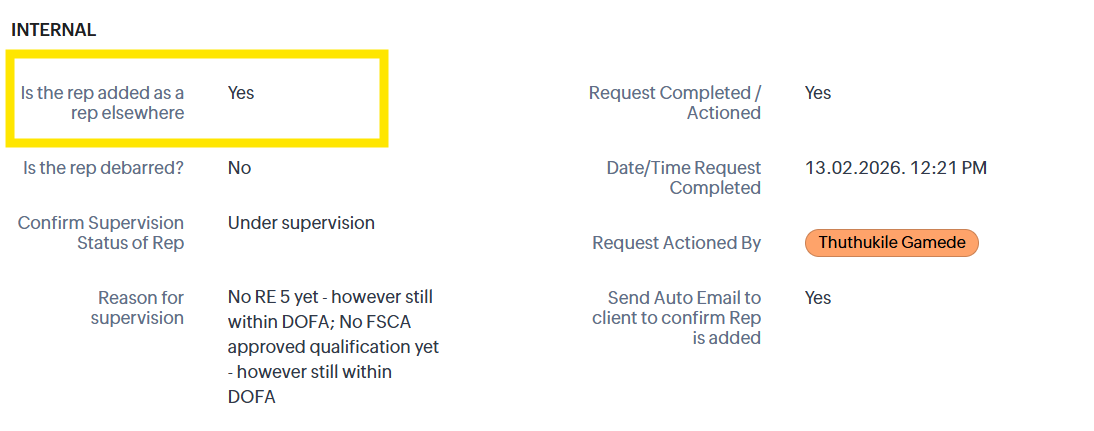
Step 2 — In the RA record, tick “Is the rep added as a rep elsewhere?” = Yes›
In the INTERNAL section of the Rep Addition (RA00xx) record, find the question: “Is the rep added as a rep elsewhere?” and tick Yes.
Step 3 — Confirm the client auto-email is triggered (request paused)›
By ticking Yes, the system sends an email to the client asking for authorisation to proceed. This indicates the entire rep addition process is paused, pending the client’s feedback.
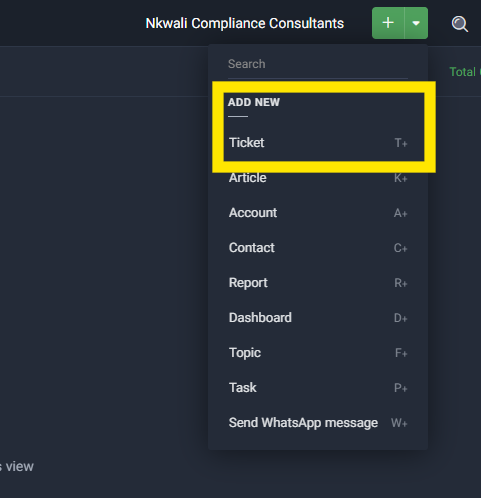
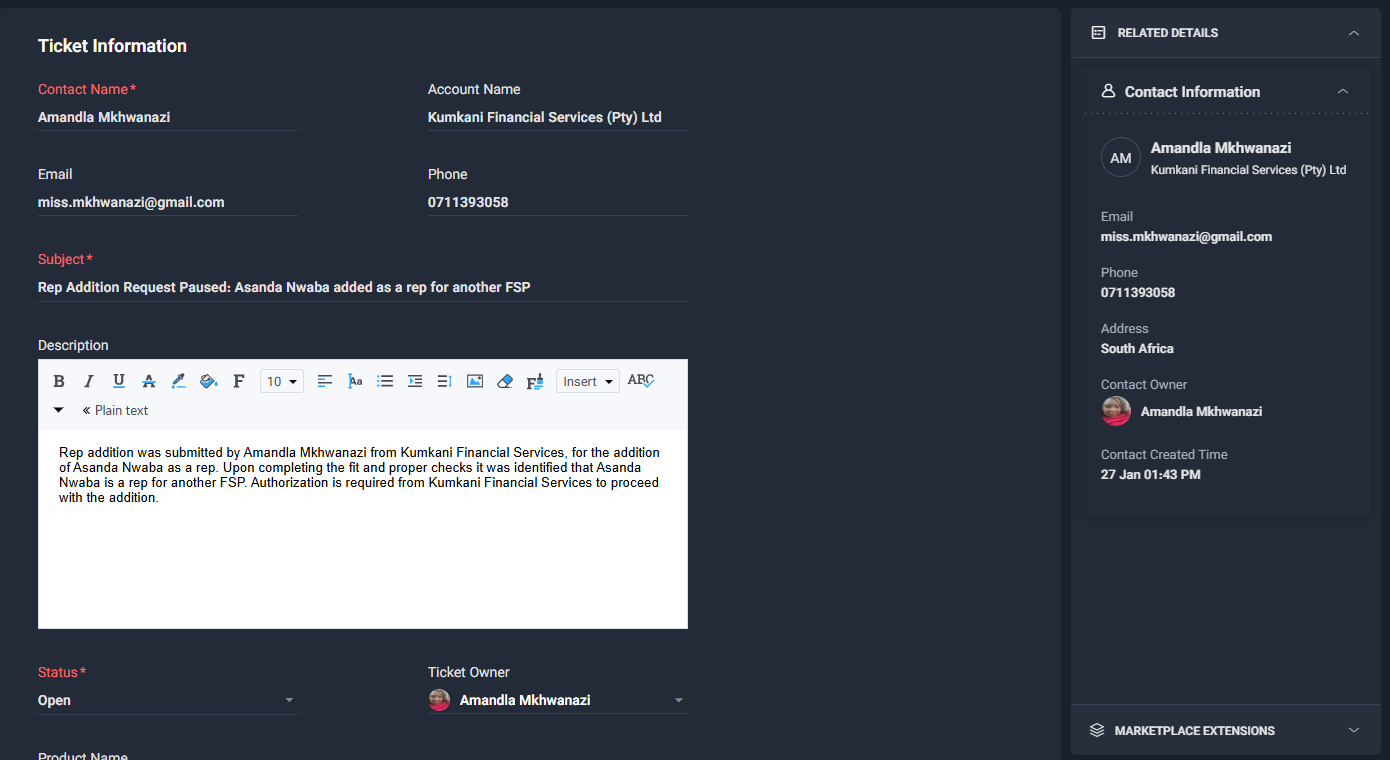
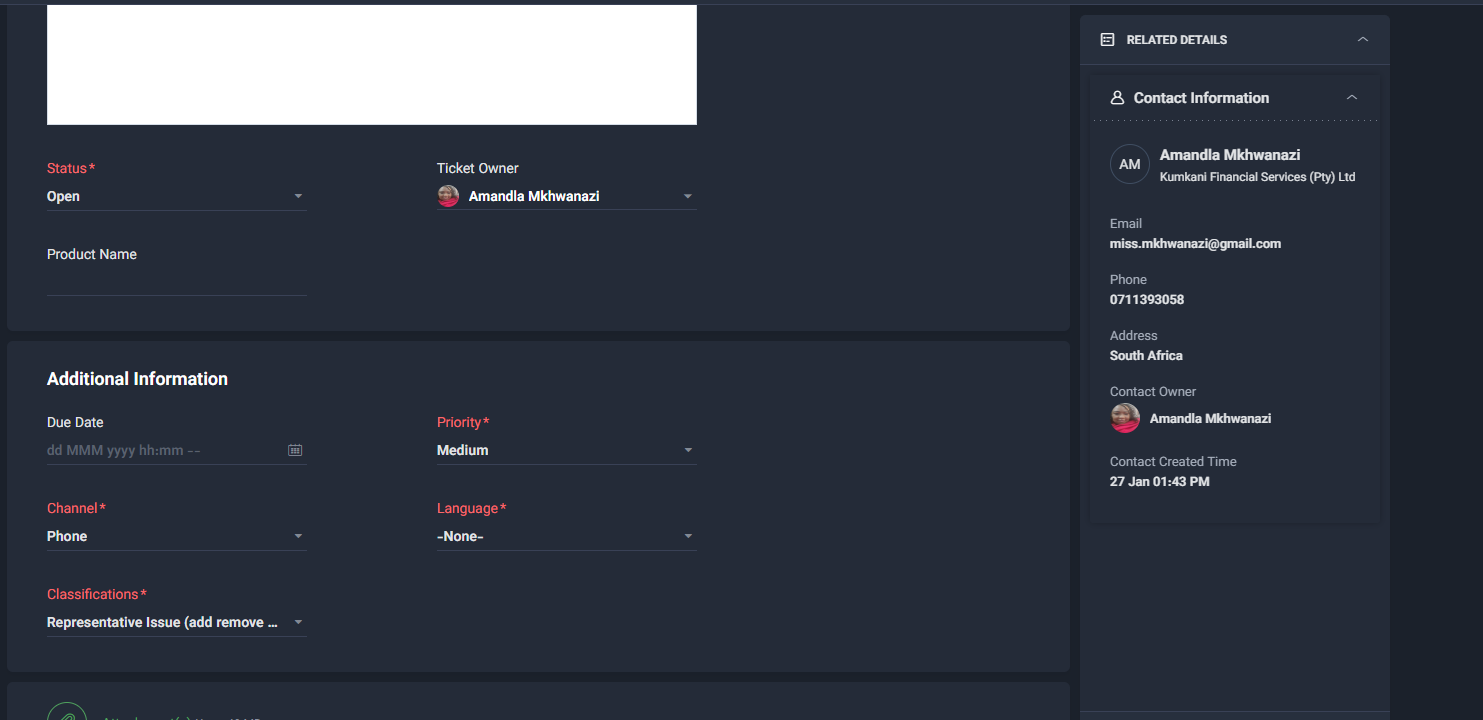
Step 4 — Create a Zoho Desk ticket (Medium priority) and put it On Hold›
Create a Zoho Desk ticket to track the pause. This ensures visibility, ownership, and follow-ups. Use a Medium priority because the rep addition cannot be completed until the client responds.
- Subject: “RA00xx — Rep listed elsewhere — Awaiting client feedback”
- Priority: Medium
- Status: On Hold (Awaiting Client)
- Category/Type: Rep Additions / Rep Listed Elsewhere (use your closest matching field option)
- Link/Reference: RA00xx number + client FSP name
- Owner: Triage (you/Thabile) until resolved
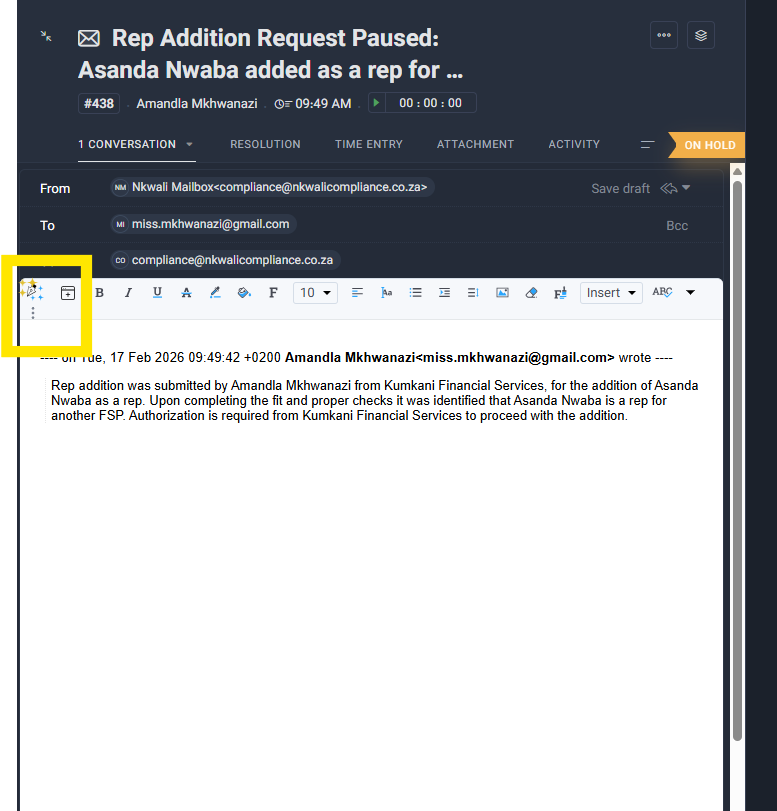
Step 5 — Put the ticket On Hold and select the correct “Awaiting feedback” reason›
After creating the ticket, set it to On Hold and select the correct “Awaiting feedback / Awaiting client” hold reason (depending on your Desk configuration).
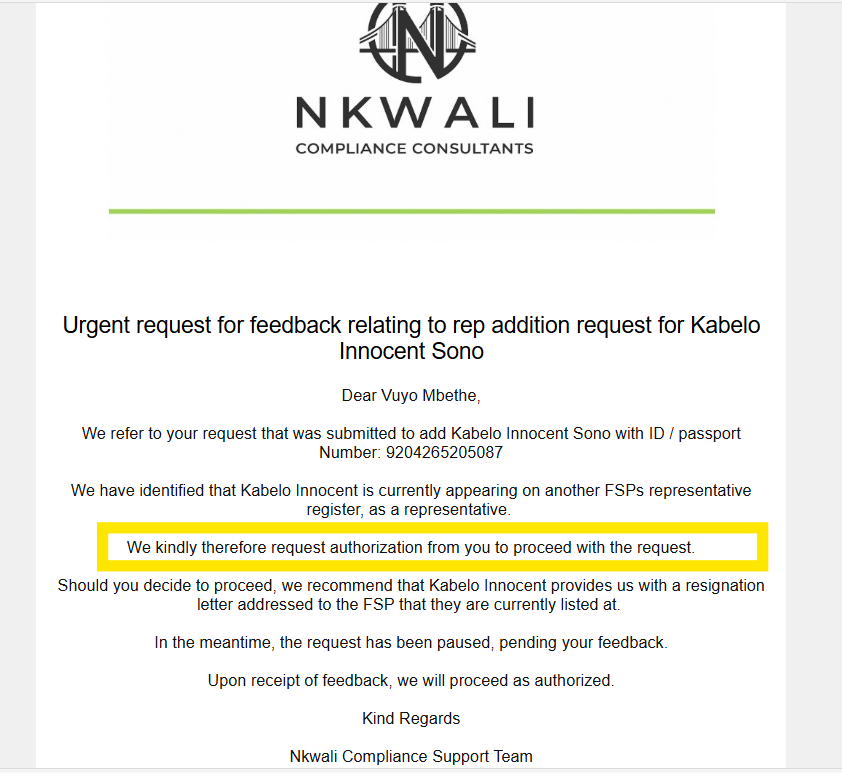
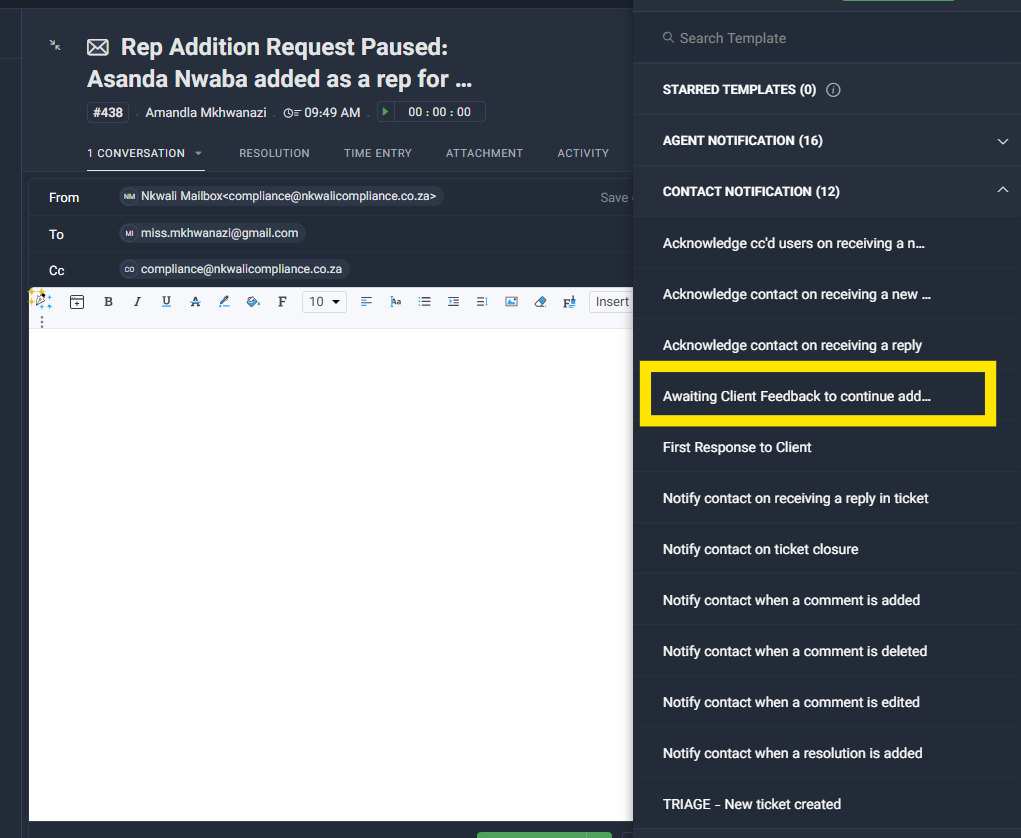
Step 6 — Send the “Awaiting Client Feedback” email template from the ticket›
From the ticket, send the approved email template that explains the pause and asks the client to confirm whether to proceed. This keeps the communication tied to the ticket record.
- Rep appears under another FSP
- Request is paused pending written instruction
- Client must choose: Do not proceed or Proceed
- We proceed only after written instruction
Step 7 — Add a clear note in the ticket (what was found + what was sent)›
Add a ticket note summarising: what the FSCA check showed, that the rep is listed elsewhere, and that the client email was sent. This protects the audit trail.

Step 8 — Record the client response and resolve correctly (Do not proceed vs Proceed)›
When the client responds, capture the response in the ticket (attach the email or paste the key text into a note), then resolve based on the instruction.
- Update RA notes: “Client instructed not to proceed (date).”
- Resolve/Close the ticket with a clear resolution note
- Request resignation evidence from the rep (recommended)
- Continue rep addition only once instruction + evidence is logged
- Resolve/Close the ticket after completion
Step 9 — Final close-out (resolution note + attachments saved)›
Close the ticket only when the outcome is final and fully documented. Your resolution must make sense to someone auditing the record later.
- Status → Resolved/Closed
- Resolution note explains: rep listed elsewhere → pause → client instruction → outcome
- Evidence attached (client email + resignation evidence if applicable)
Play & Learn (quick decision simulation)
Choose the best next action when you see the rep is listed under another FSP.
Scenario
You ran the FSCA rep register check using the ID number and the rep appears under another FSP. What should you do next?